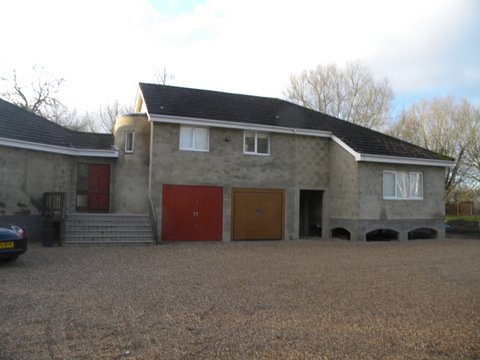
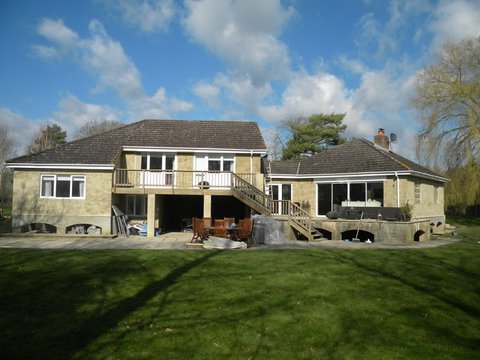
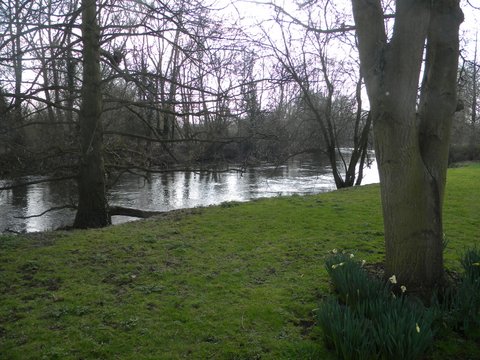
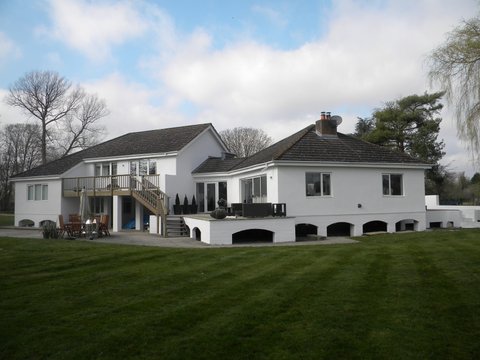
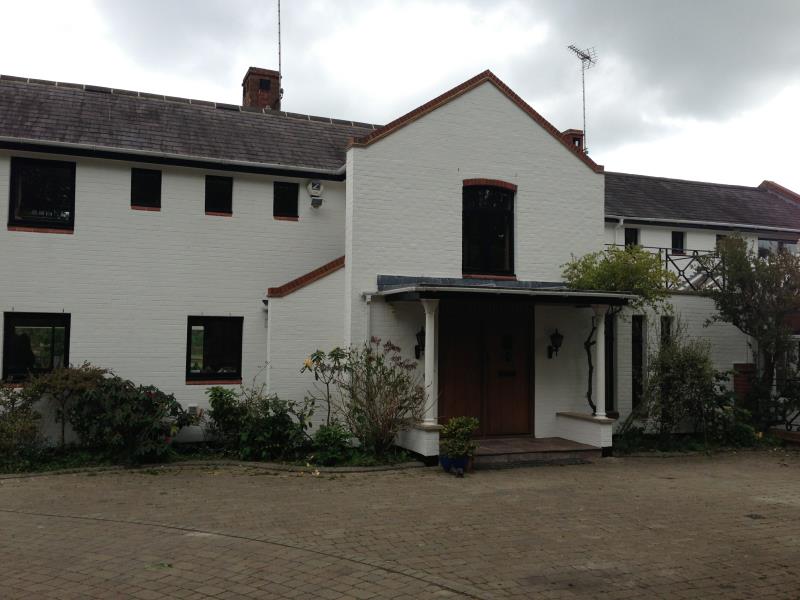
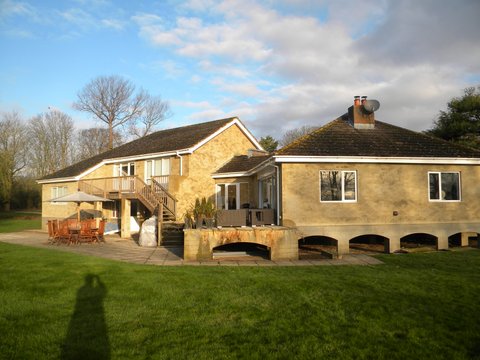
This unusual property is just outside Reading with a 300 yard river frontage running through the grounds. Built in the 1930s as a small weekend fishing cottage it was extended to its present size during the 1950s. Every so often the house becomes an island when the river overflows to approx 3 feet completely encircling the property.
Hence the design of being build on a raised concrete platform enabling the water to run around and under the property.
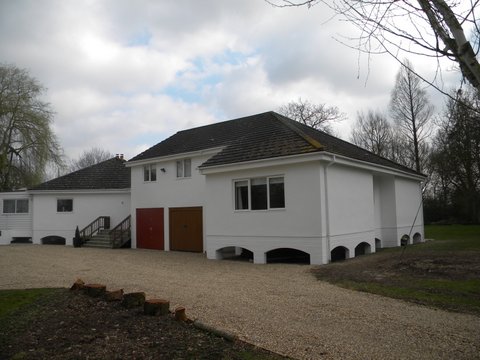
Our client a property developer that had used our company services before asked for a complete survey on the best method to upgrade the exterior brick walls that was a mixture of different bricks, and very badly eroded pointing.,
As the property gets flooded on average every 18 months he also needed something to protect the RC Raft.
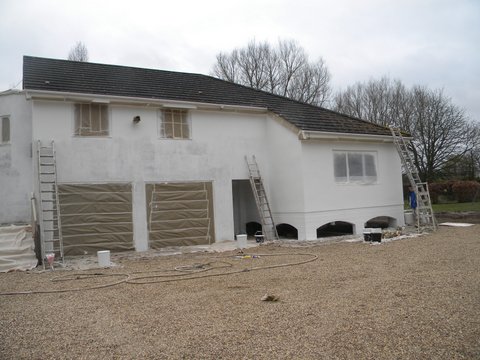
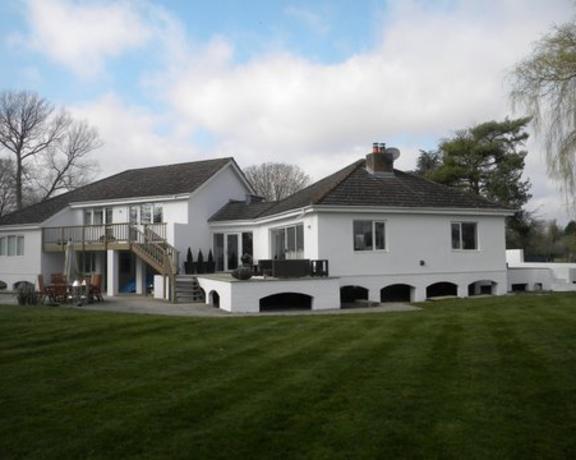
WORKS CARRIED OUT ON HOUSE WALLS
* Corroded cavity wall ties isolated and replaced.
* Extensive brick stitching to several major cracks
* Replacing very badly eroded bricks in several areas
* Cavity wall insulation installed
* 2 coat thermal rendering to all brickwork areas.
* A primer base coat sprayed to all rendered areas
* Final top coat sprayed in white using a fine textured Coating.
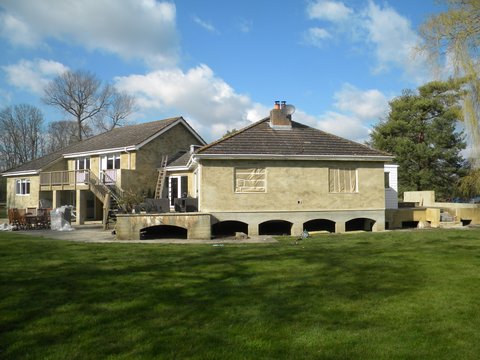
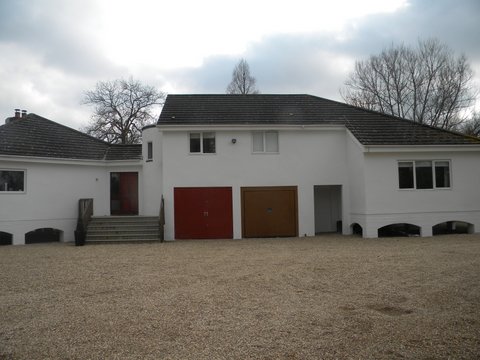
CONCRETE RAFT
The concrete raft was very corroded and cracked in places allowing water to penetrate and corrode the steel reinforcement
* All areas of the raft was HOT power washed to remove contaminants
* Cracks was ground out and filled with epoxy resins and grout
* Stitch bonding to several cracks we used stainless steel rods and epoxy resins
* A special deep penetrating resin was used to seal the concrete.
* The final 2 coats of a special chlorinated rubber coating ( as used on the north
sea oil rigs ) was sprayed to all areas of the raft .
Please click on a picture to enlarge
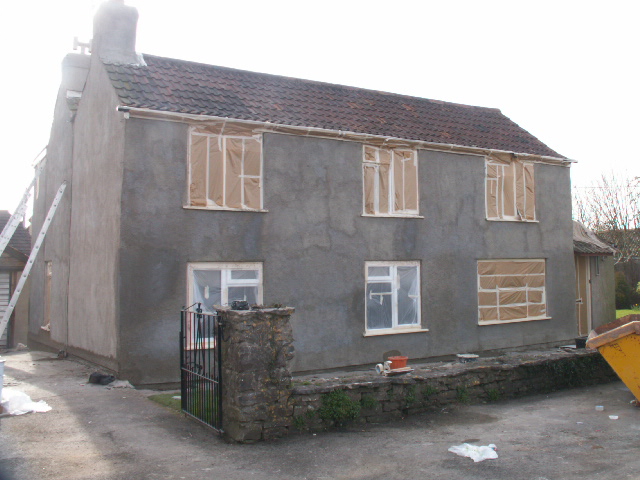
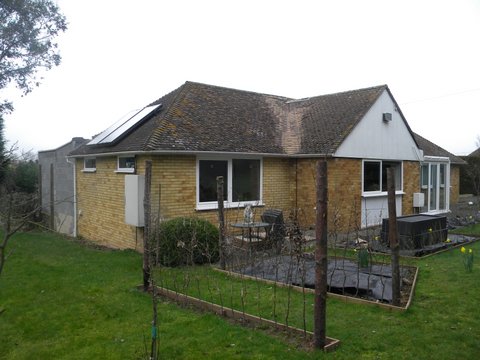
CASE STUDY 2
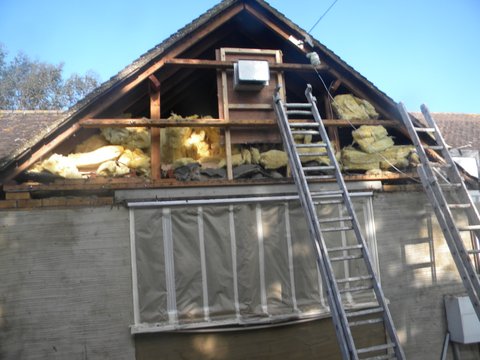
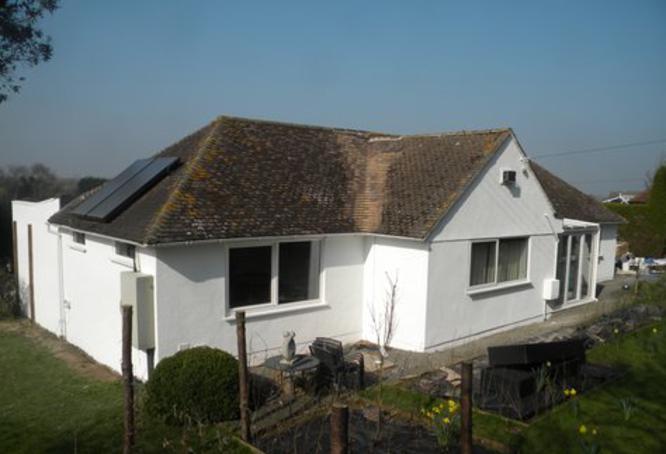
This bungalow in Canterbury at first sight looked in good condition, but on closer investigation revealed major problems ( some structural )
Our clients stated to us that although the house was only built in the 1960s it was very cold in the winter and although the lofts was well insulated
there fuel bill was to high. Our survey revealed cavity wall tie failure on 1 wall, the sand faced fletton bricks had extensive frost damage on all elevations
( hundreds in fact ) , no cavity wall insulation, The wood shiplap on 3 elevations was rotten and was doing nothing to contain the heat in the property. Rafters
adjacent to the shiplap was also rotten and wood need attention. on all elevations the ground was bridging the DPC and would need to be reduced.
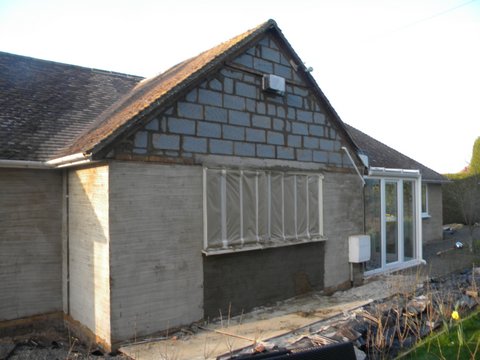
Our clients instructed us that they wanted a new look bungalow with clean lines and no maintenance. The following works was carried out and is illustrated in the following photos.
* Remove all ground areas to below the DPC level.
* Replace major damaged bricks
* Isolate corroded wall ties and replace
* Install cavity wall insulation to house and external office.
* Remove all shiplap timber on 3 elevations.
* Remove all structural roof timbers .
* Rebuild all 3 elevations in Turbo insulating blocks
* Set up stainless bead to all elevations.
* Mask all areas not to be treated
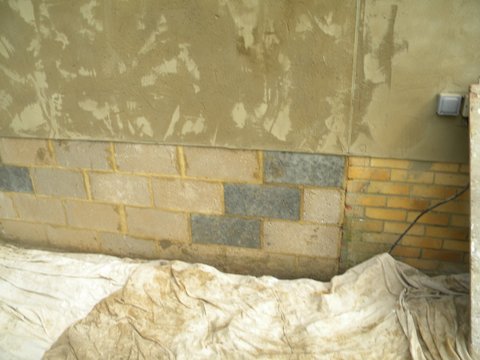
* Apply scratch thermal render coat to all areas above DPC level
* Apply final thermal render coat to all areas.
* Demask all areas clean down and re-mask ready for final coating.
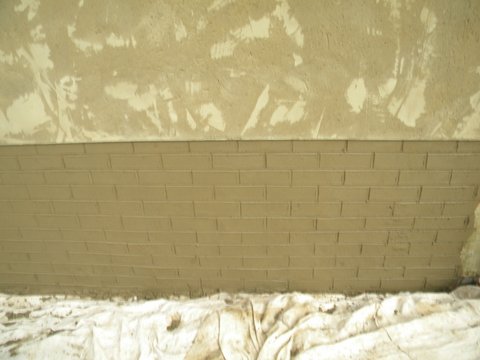
* Apply primer base coat to all areas including below DPC level
* Apply by high pressure spray GUNEX smooth finish to all areas.
* Demask and clean up, remove all resulting debris and rubbish .
from site.
Please click on pics to enlarge
Call us for a free ( no obligation ) survey and quotation on Tel : 0203-693-3797 or use the contact form below
Schedule of Works
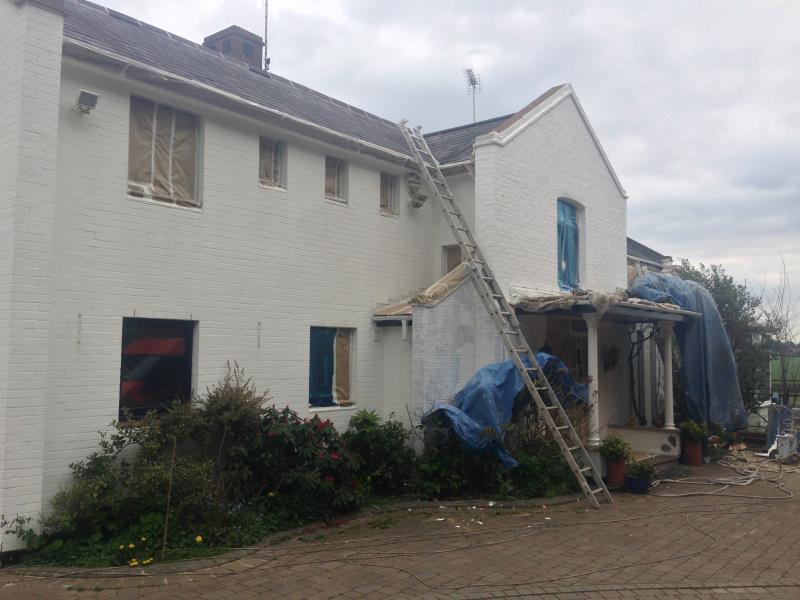
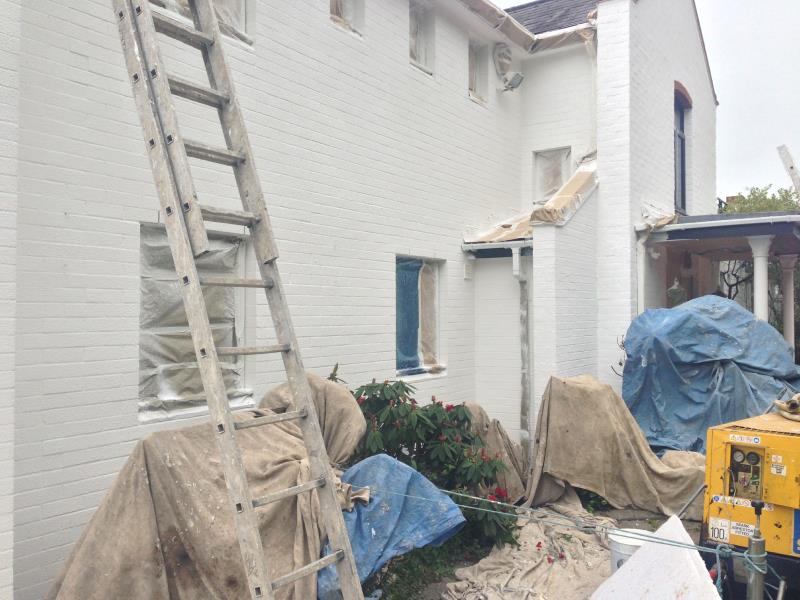
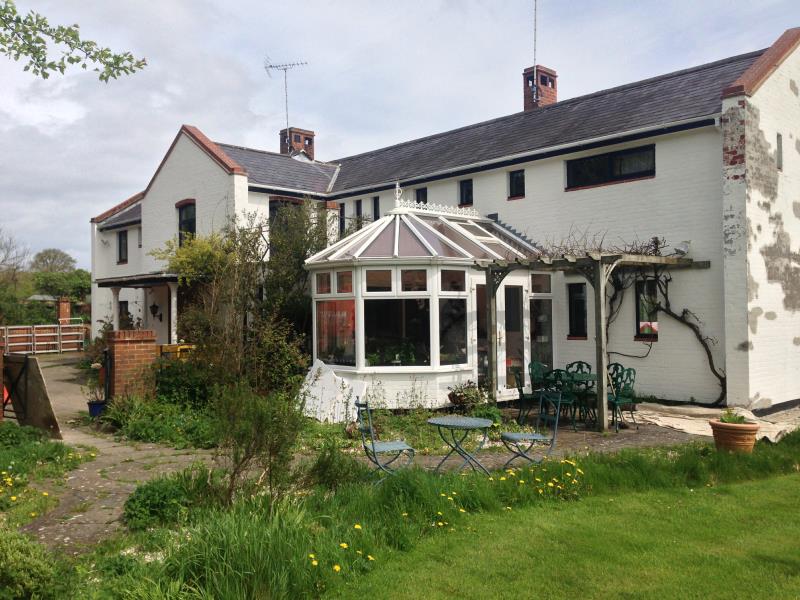
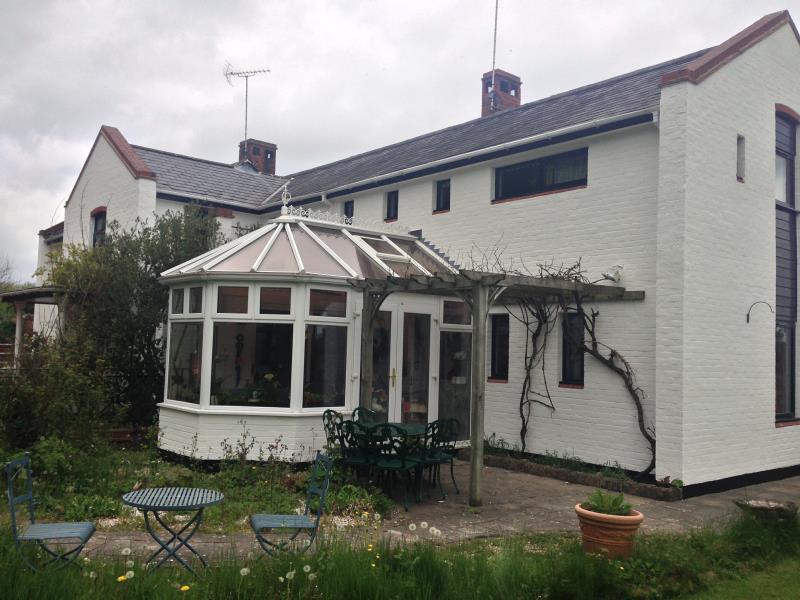
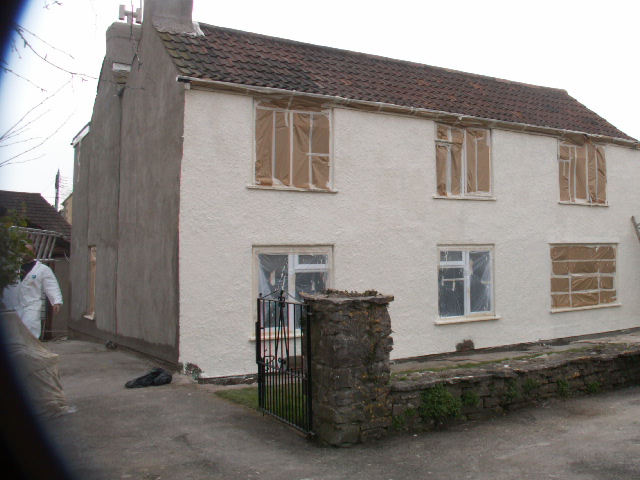
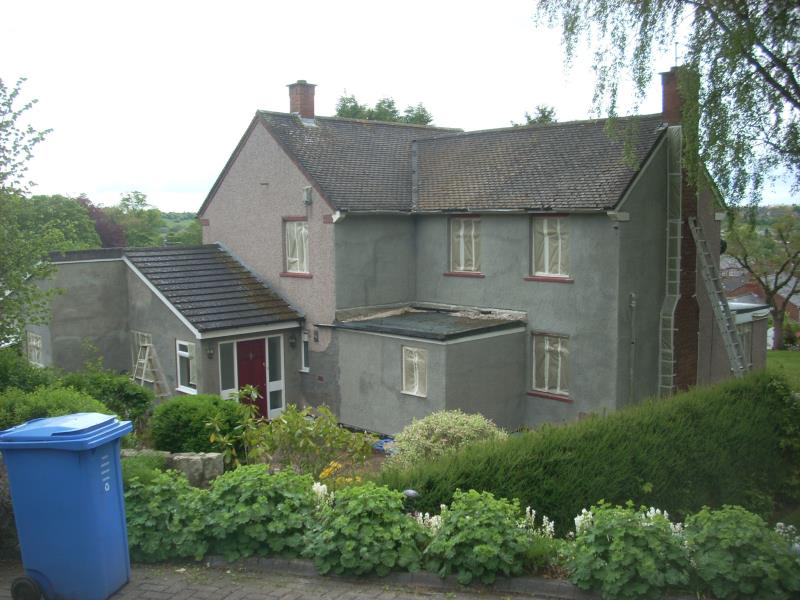
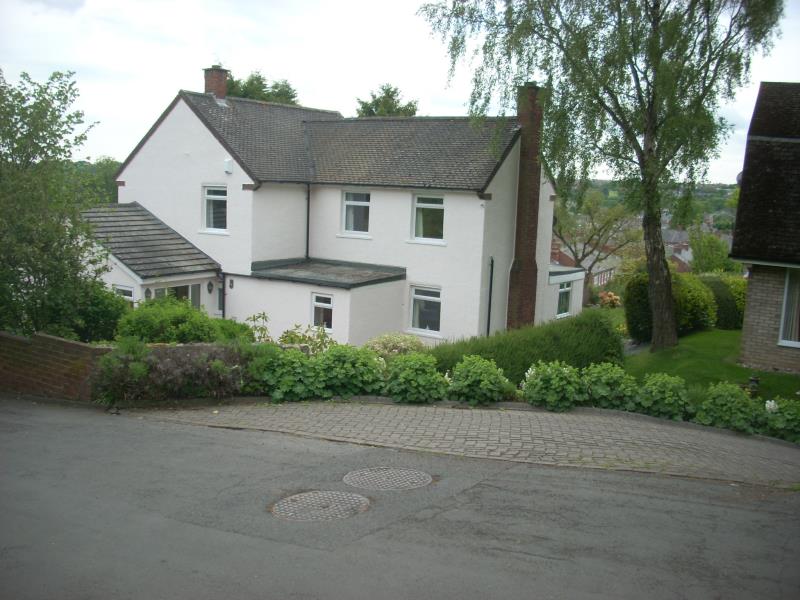
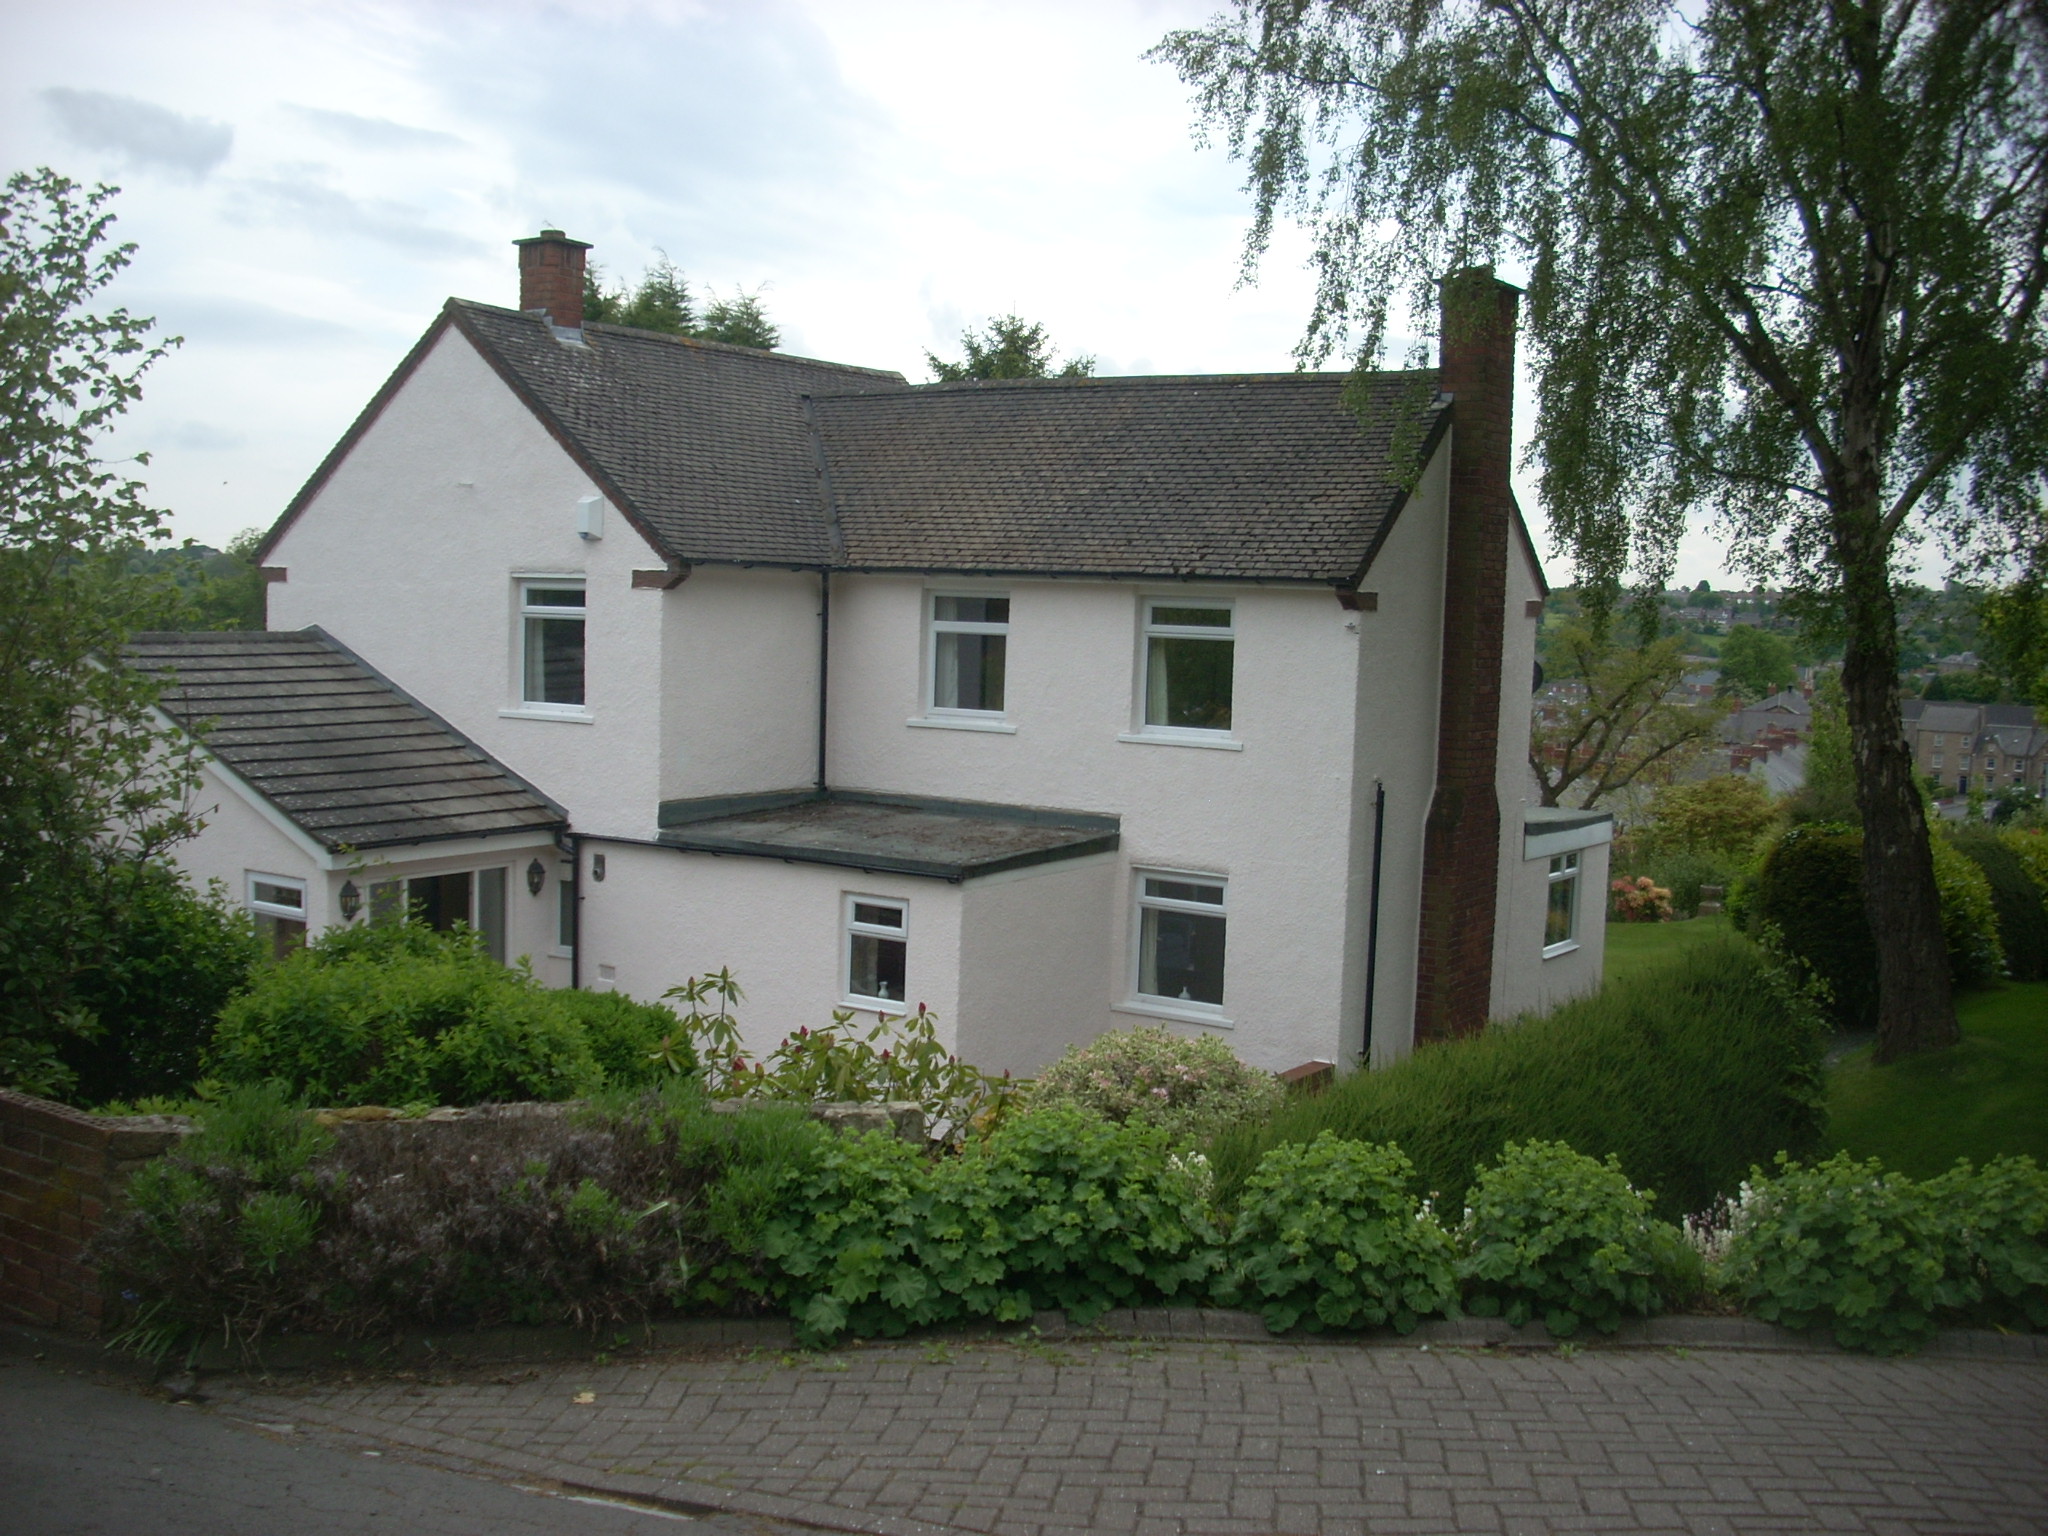
This Beautiful house deep in the Hampshire countryside was at first glance in good condition, however on closer inspection the original coating
had detached itself in many areas. The problem was the brick copings around the house that was defective and allowing water to penetrate
the walls and and causing considerable damage to the main structural bricks of the house.
* Corroded cavity wall ties isolated and replaced.
* Extensive brick stitching to several major cracks
* Replacing very badly eroded bricks in several areas
* Re-pointing all brick copings and treating with clear
silicone water repellent
* Needle-guning all surface areas.
* Power-washing to all areas.
* Masking all areas not to be sprayed .
* A primer base coat sprayed to prepared areas
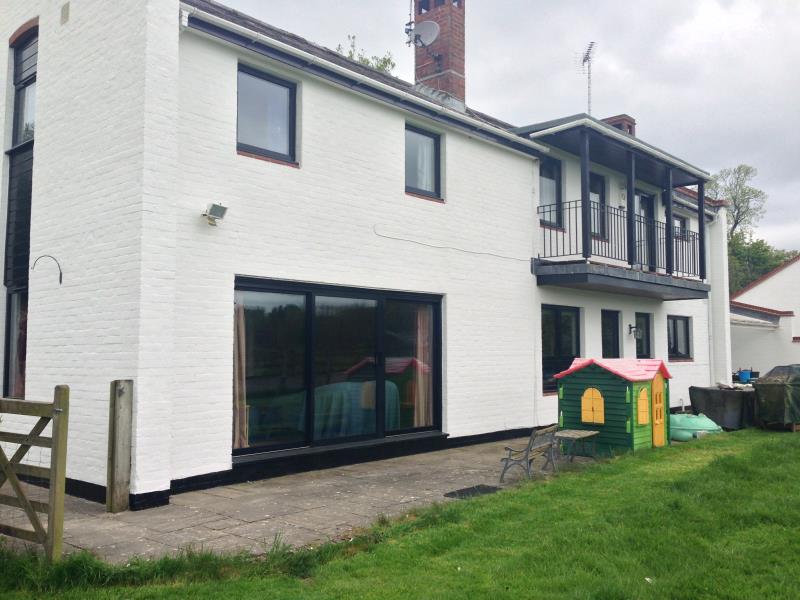
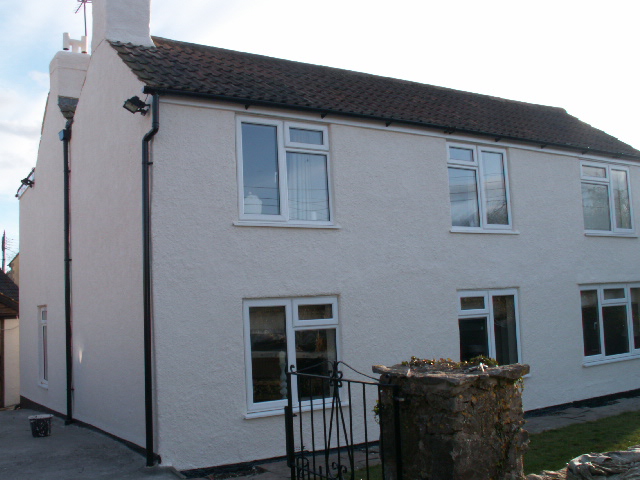
* Final top coat sprayed in white using a fine textured TEXKOTE
Please click on pics to enlarge
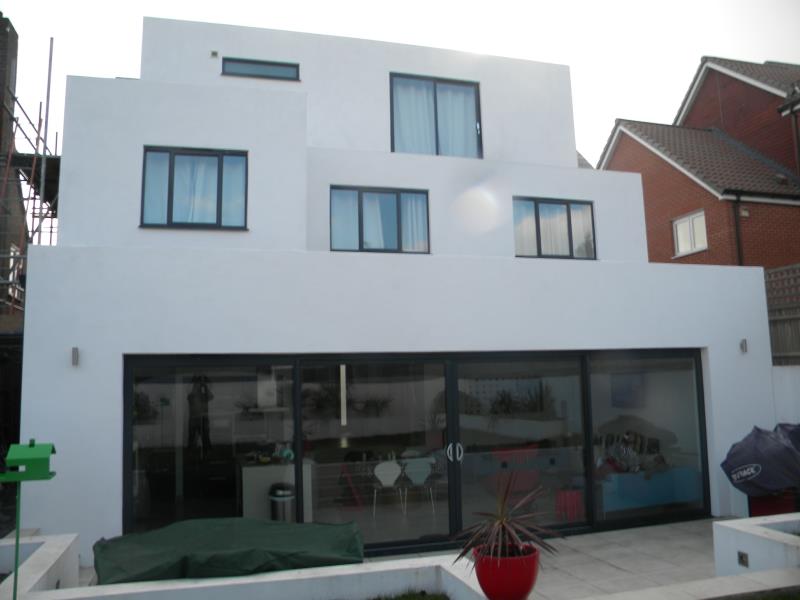
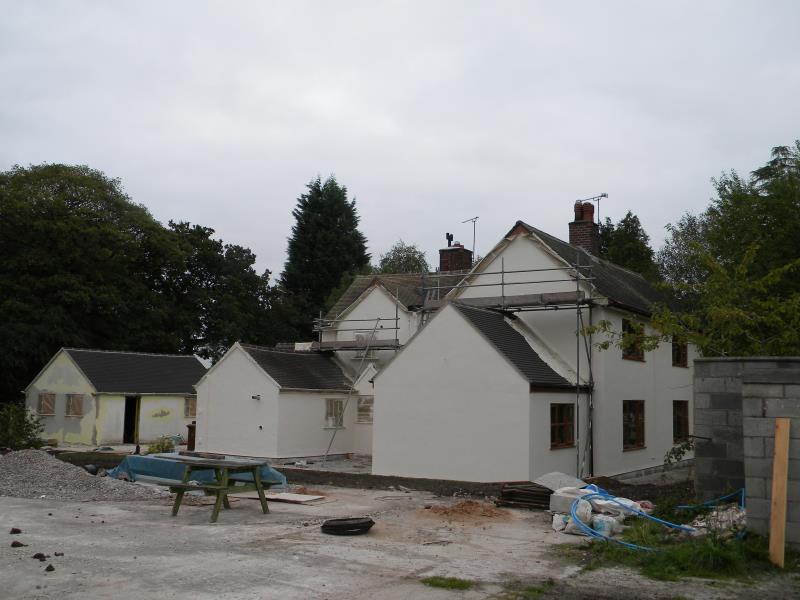
CASE STUDY 4
Schedule of Works
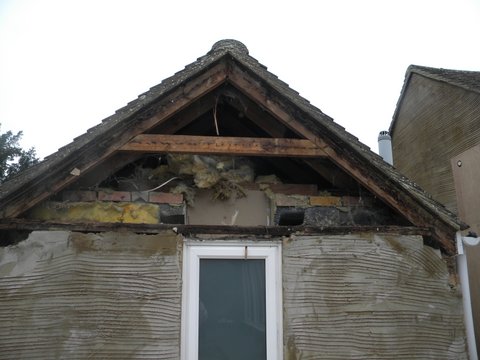
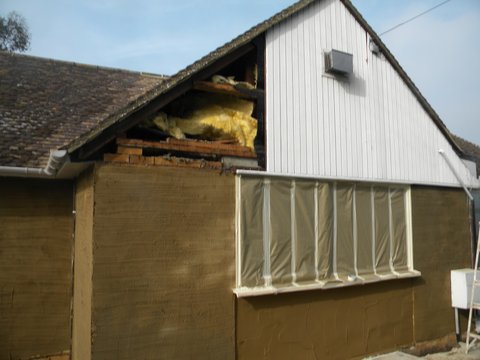
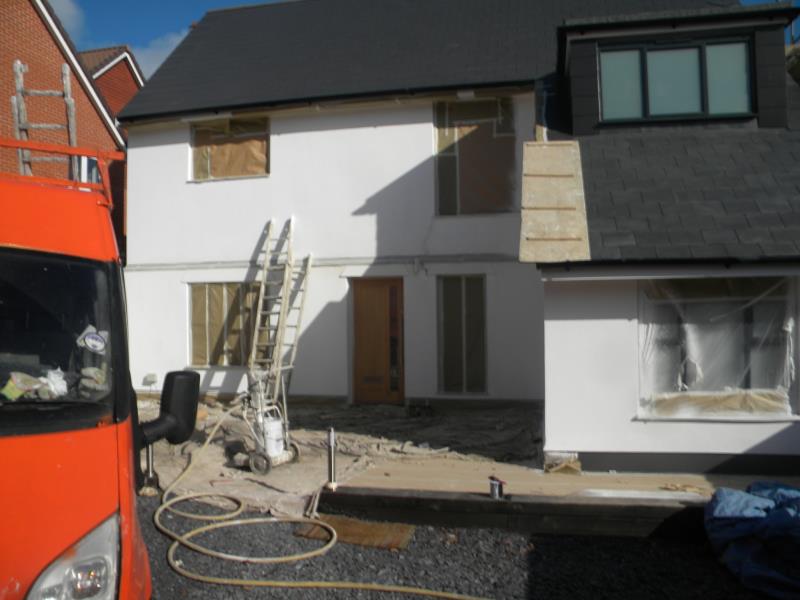
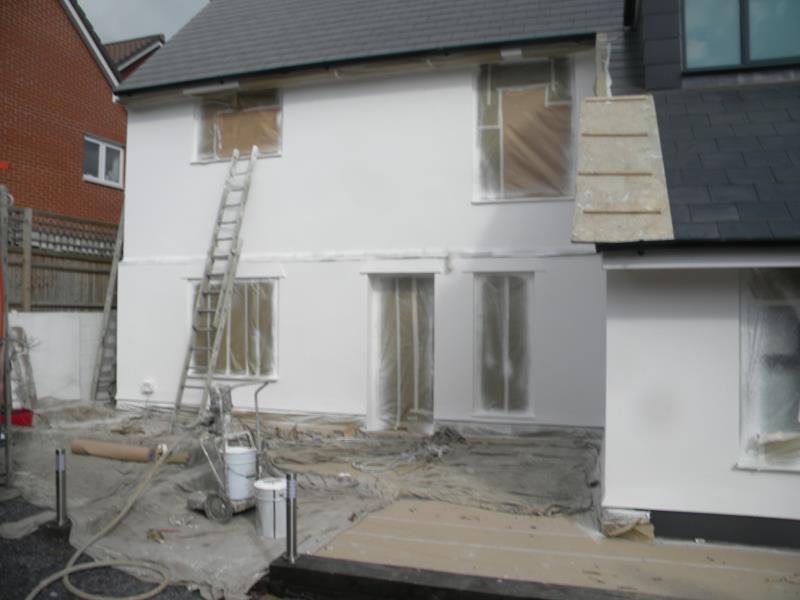
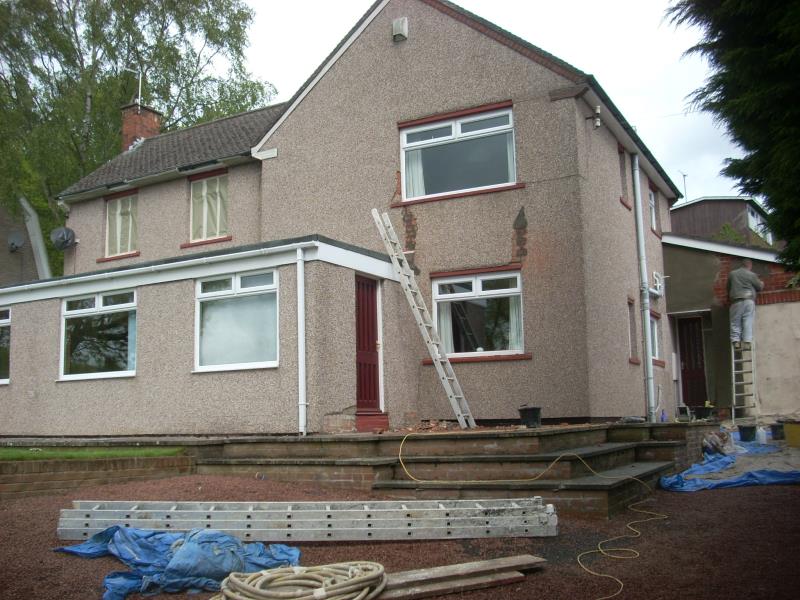
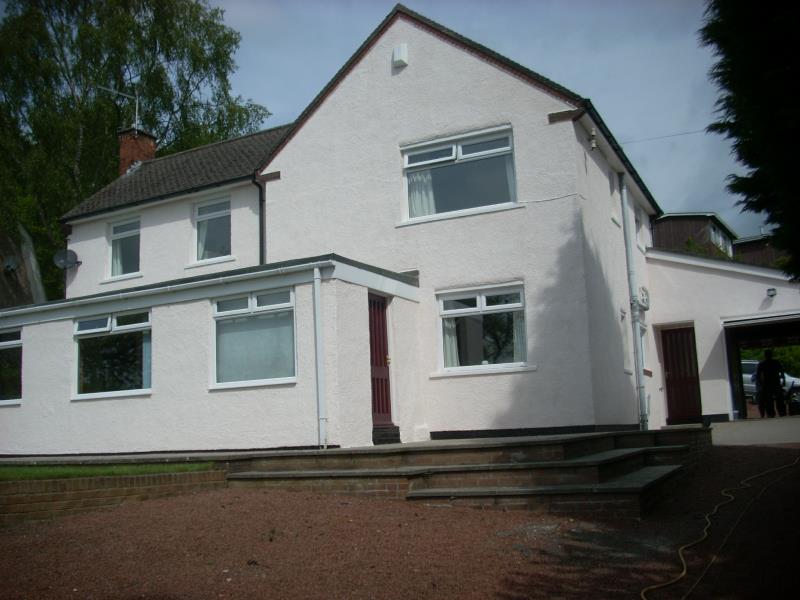
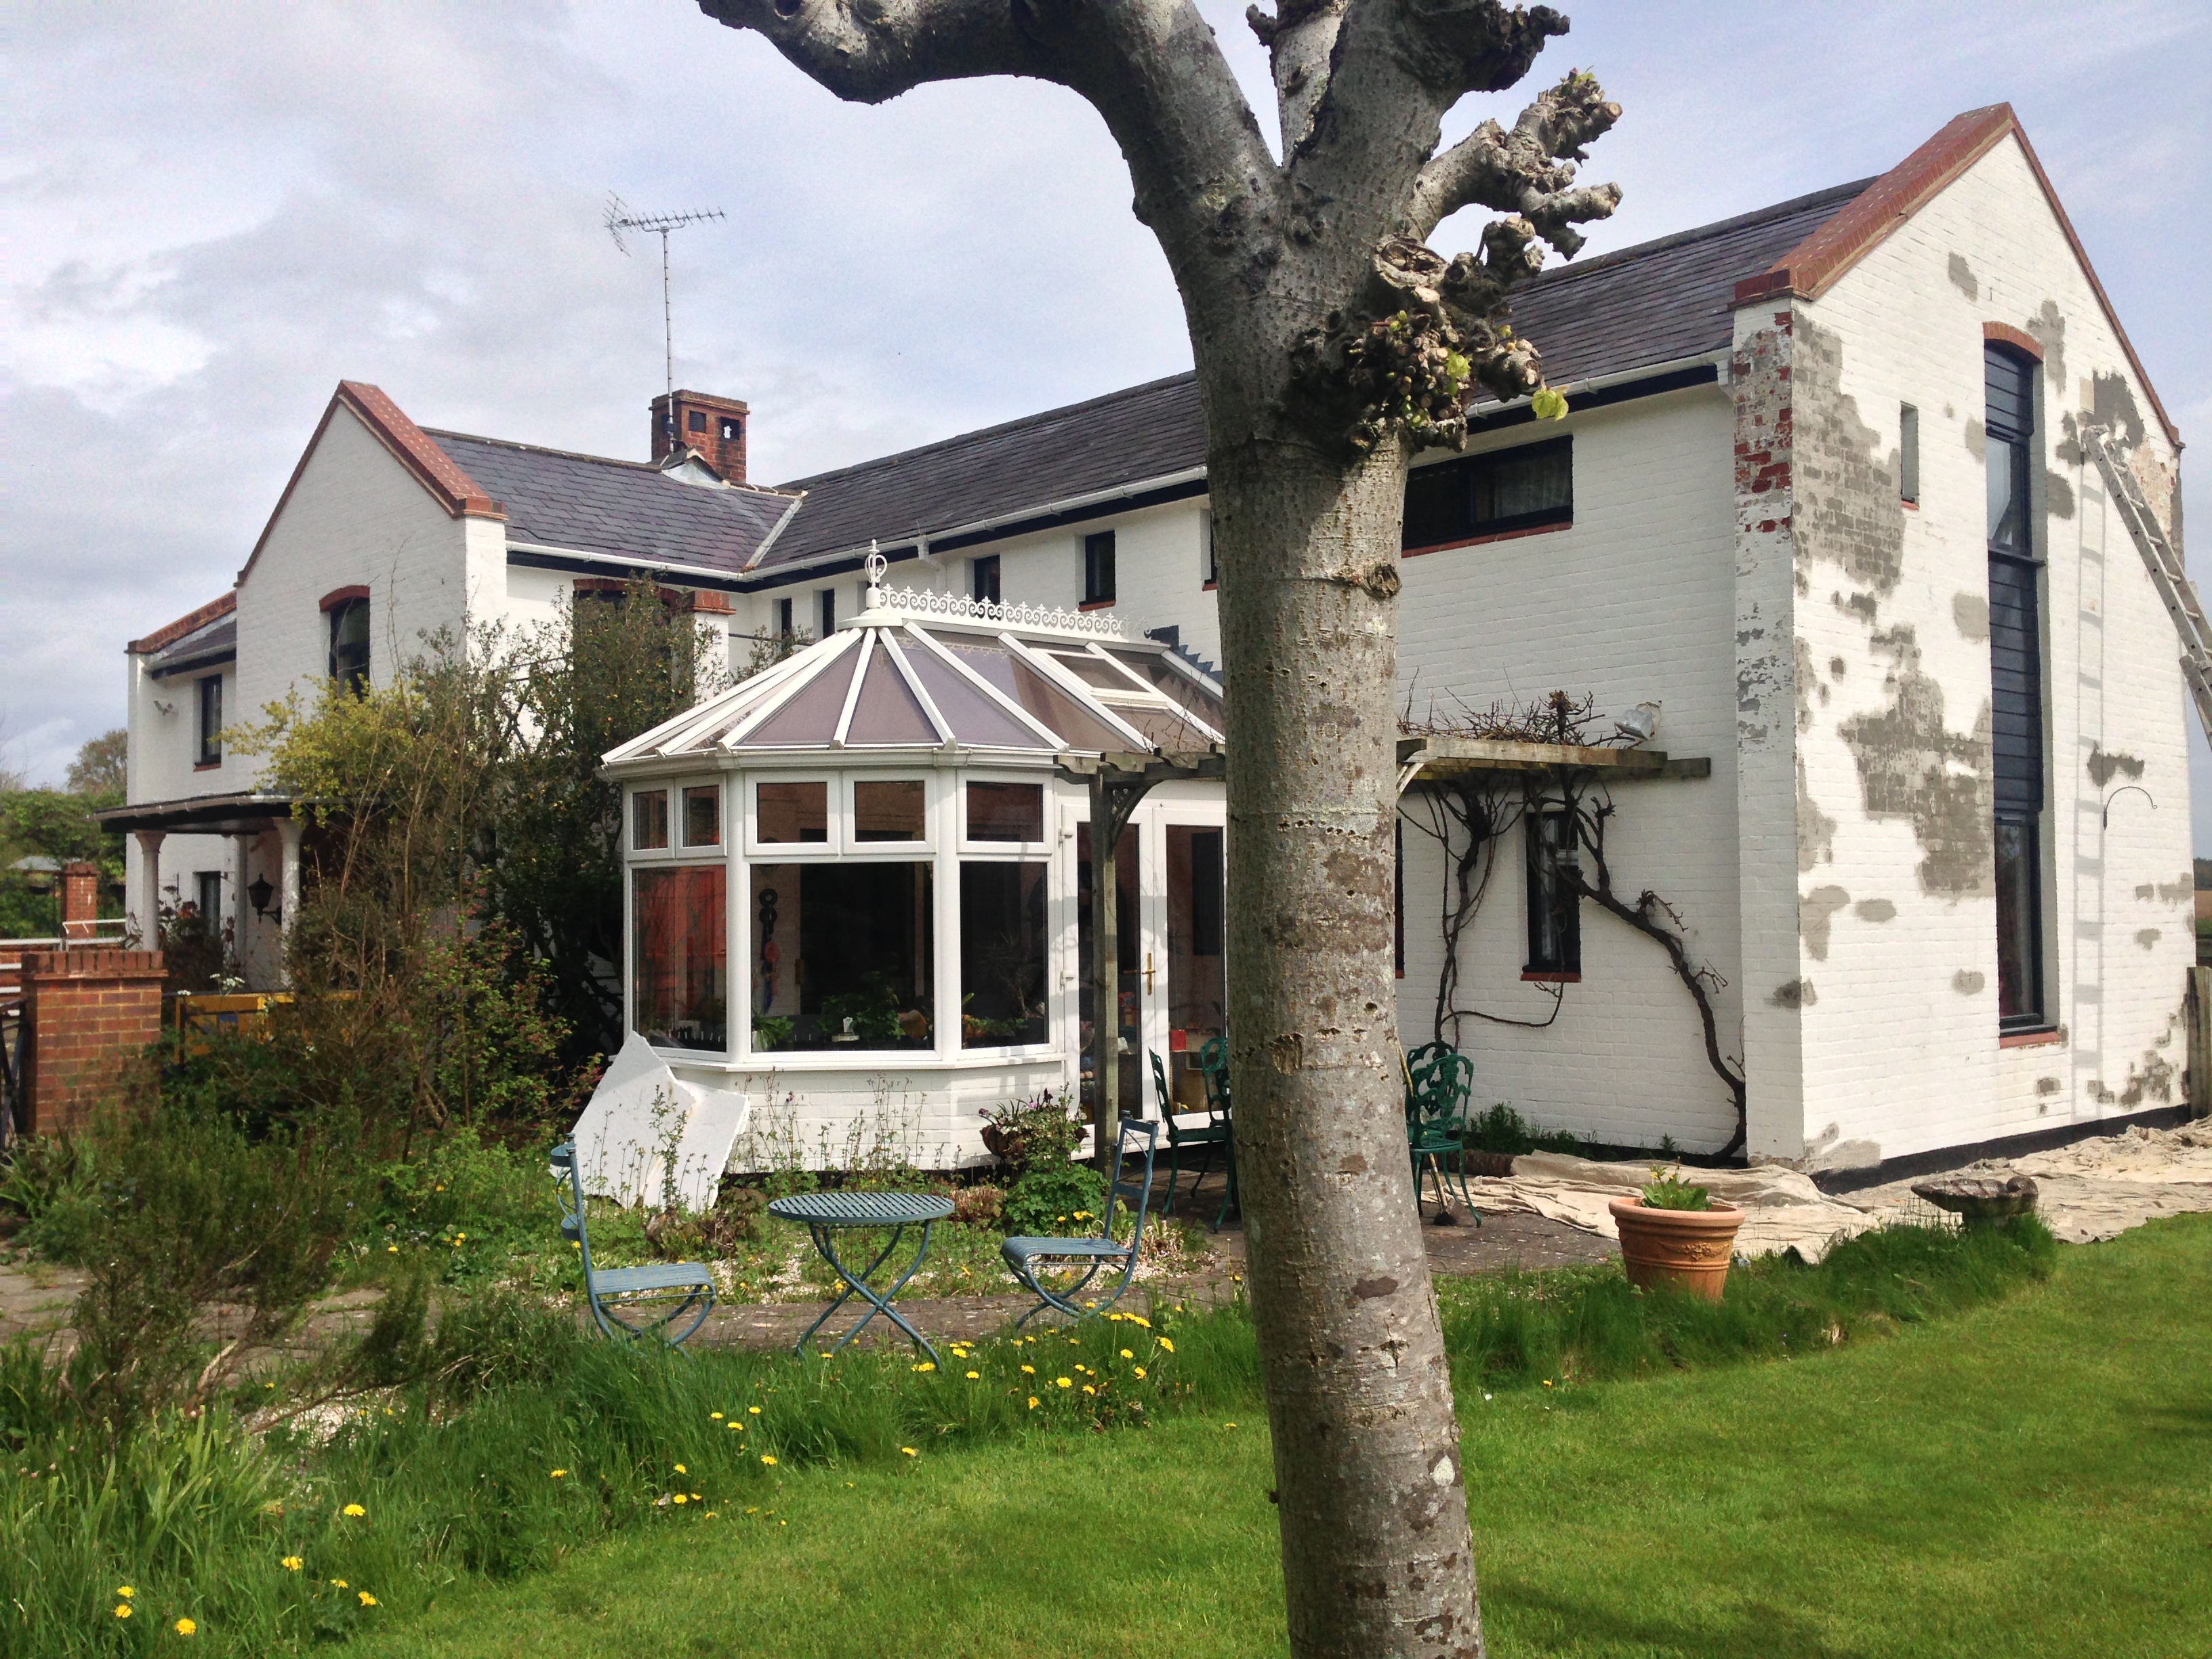
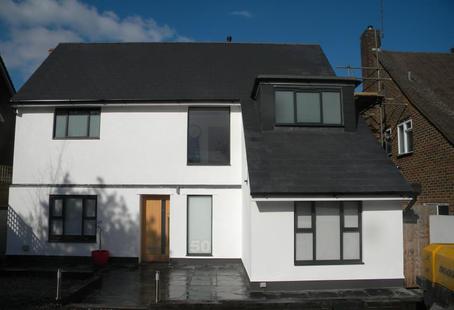
This recently renovated house in Essex, had a problem with a roof valley, however the roofing company would not carry out the roof repairs untill
several major cracks in the external walls was repaired. Our client decided after our survey to have the entire house sprayed / coated as there was so many cracks on the rear elevation it would not be practical just to repair them. as they was letting in water and damaging the fabric of the building.
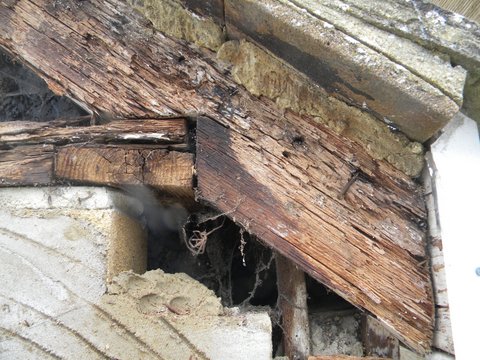
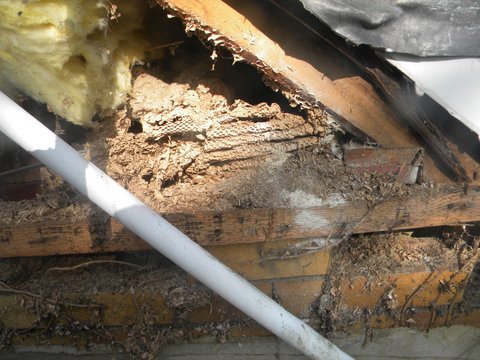
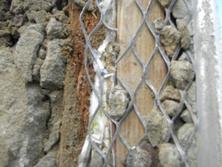
During our survey it was noticed that the entire rear and part left and right side elevations was made of studding ( wood)......our client was not aware of this and was not told about this during a full structural survey the had prior to buying this property, the client had only lived in the property for 12 months
The problems we encountered was that the entire rear elevation was very badly fixed to the original brick building ( see photos ) already the
wood has started to rot
* Cut back and expose all cracks on building
* Drill and fix stainless steel bolts through the main
studs into the main brickwork of the house,
* Fix Twist-Fix Tie Bars every 12 inches to front elevations
of cracks
* Fix stainless steel expanding metal to cracks using epoxy
resin.
* Render to match existing surface
* Power-wash property
* Mask all areas not to be sprayed,
* Check and repair any cracked / blown render
* Apply by airless spray filler / primer / slush coat
to all rendered surfaces.
* Apply final top sprayed coating to all prepared areas
using GUNEX Fine textured coating.
Please click on pics to enlarge
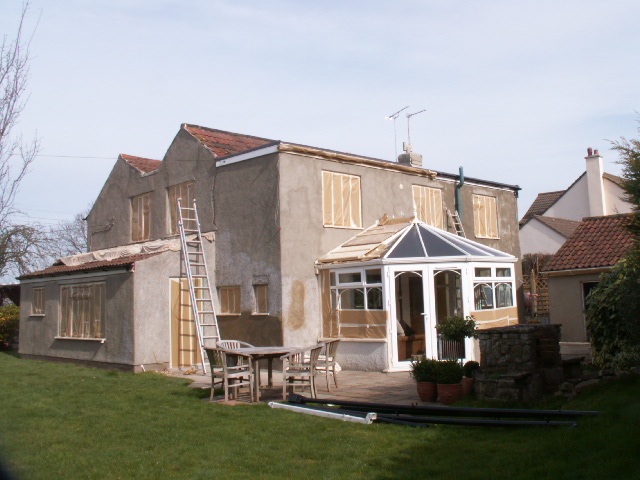
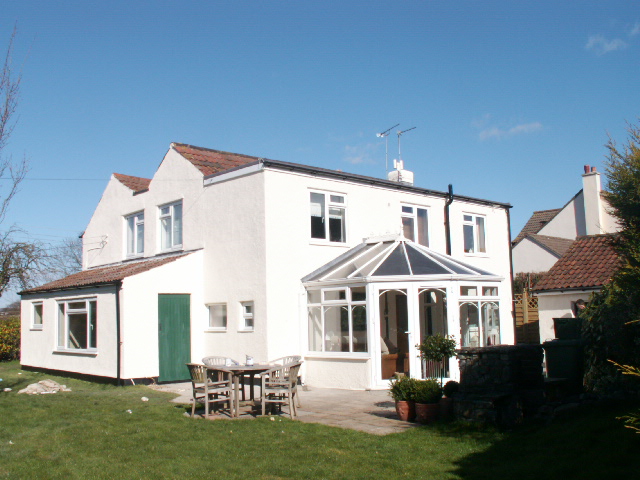
CASE STUDY 3
CASE STUDY 5
* Remove and replace all blown renders / pebbledash
* Cut out and inspect suspect cracked brickwork
* Extensive brick stitching to several major cracks
* Replacing very badly eroded bricks in several areas
* Burn off all remaining climbing ivy spores and vegetation.
* Re-pointing and re render all stacks
* Needle-guning all surface areas.
* Power-washing to all areas.
* Masking all areas not to be sprayed
* Bag coat all prepared renders / pebbledash
* A primer base coat sprayed to prepared areas
* Final top coat sprayed in waterlily using a fine textured GUNEX
coating
This house was originally 2 cottages in the 1800s converted into one large house around the 1950, and was a mixture of brick and
stone and blocks.
There was extensive cracks in many areas and some was serious in the fact that the brickwork had cracked through to the inside causing
considerable damp problems. Our client had recently purchased the property and had removed the climbing ivy that was covering most or the property. Although ivy looks very nice on certain buildings it does cause a considerable amount of damage if left unchecked
Please click on pics to enlarge
Schedule of Works
Schedule of Works
CASE STUDY 6
A very nice house in Cardiff, but due to the weather the external spa dashing had seen better days and was in urgent need of
repair.
Built around 1930 in cavity wall construction, the property had been added to over the years and the ecternal pebbledasing was
not to the best standard in terms of matching up the various services, hence bald joints all over and different coloured mortars
ment from a visual point the house did not look at its best.
The client called us in because of damp in several rooms aqnd they was always sweeping up loose stones around the property
The damp problems was quickly identified as corred and bridged cavity wall ties, highly porous rendering / spadash, and several majour
cracks in the brickwork.
The finished photos show the transformation and weatherproofing that turned this cold damp and dowdy home into a beautiful clean and weatherproof house..
* Corroded cavity wall ties isolated and replaced.
* Extensive brick stitching to several major cracks
* Replacing very badly eroded bricks in several areas
* Re-pointing all brick chimney stacks and apply a clear
silicone water repellent
* Needle-gunning all surface areas.
* Power-washing to all areas.
* Masking all areas not to be sprayed .
* Apply a cement based polymer base coat to
form a sound finish and to stabilise the stones.
* A primer base coat sprayed to prepared areas
* Final top coat sprayed in white using a fine textured
GUNEX Finish
Please click on pics to enlarge
Schedule of Works
CASE STUDY 7
Please click on pics to enlarge
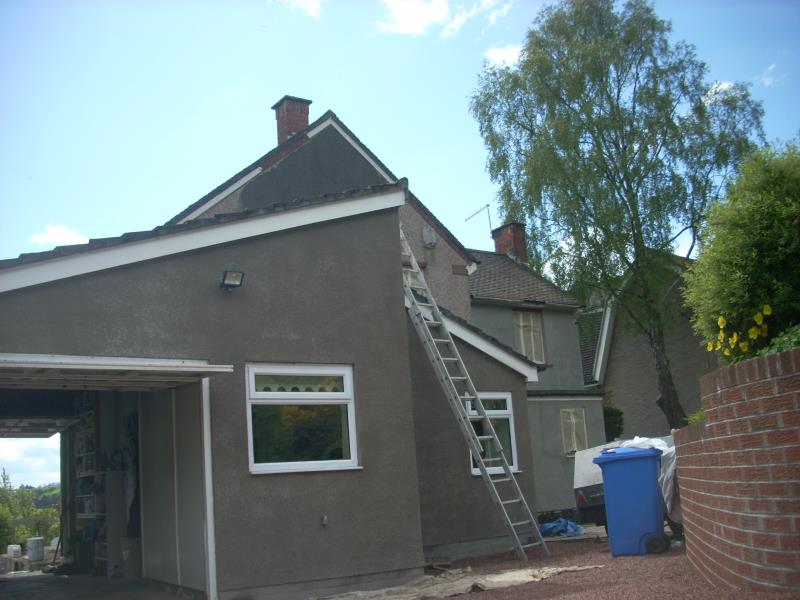
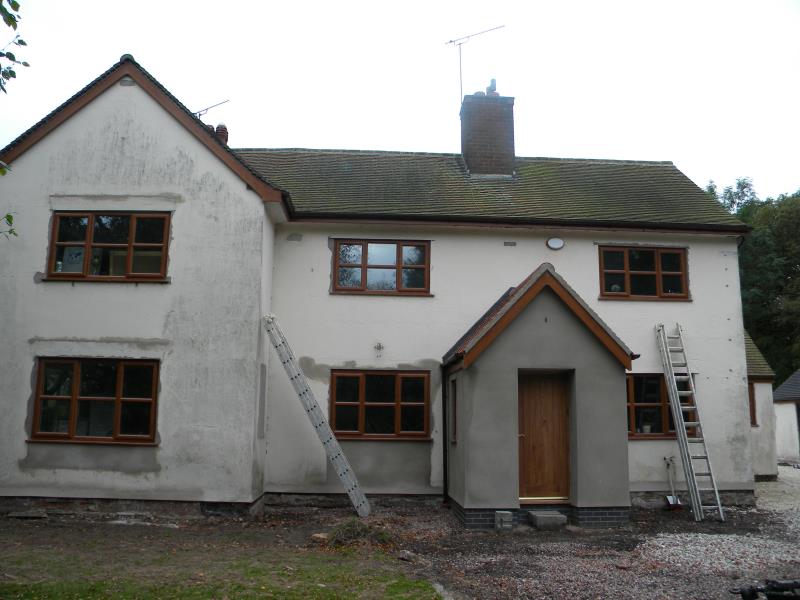
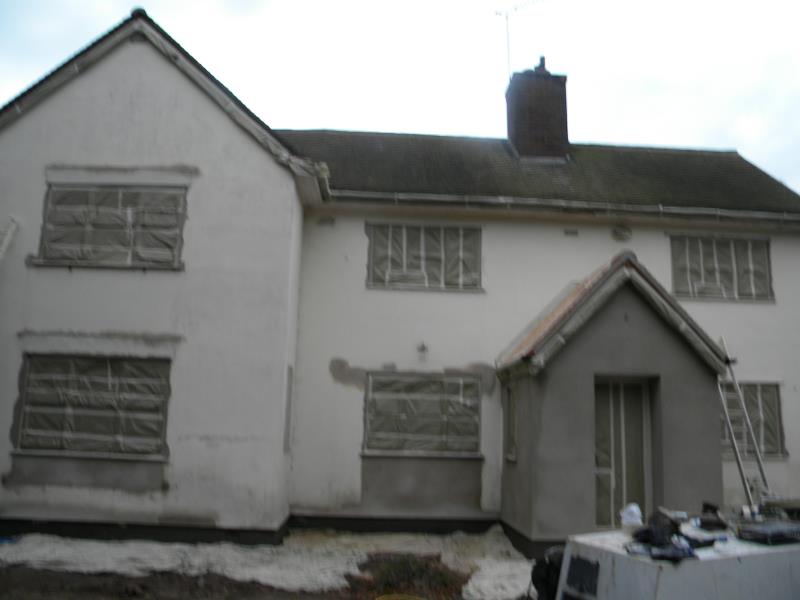
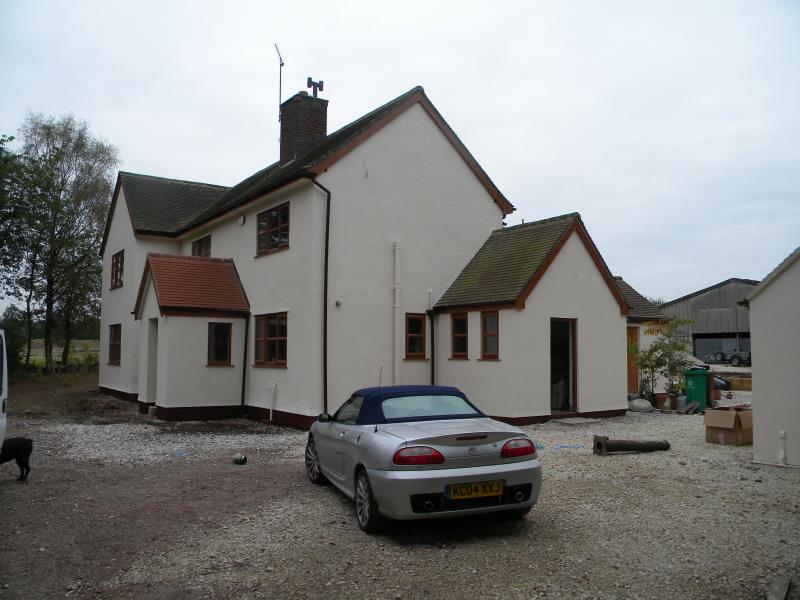
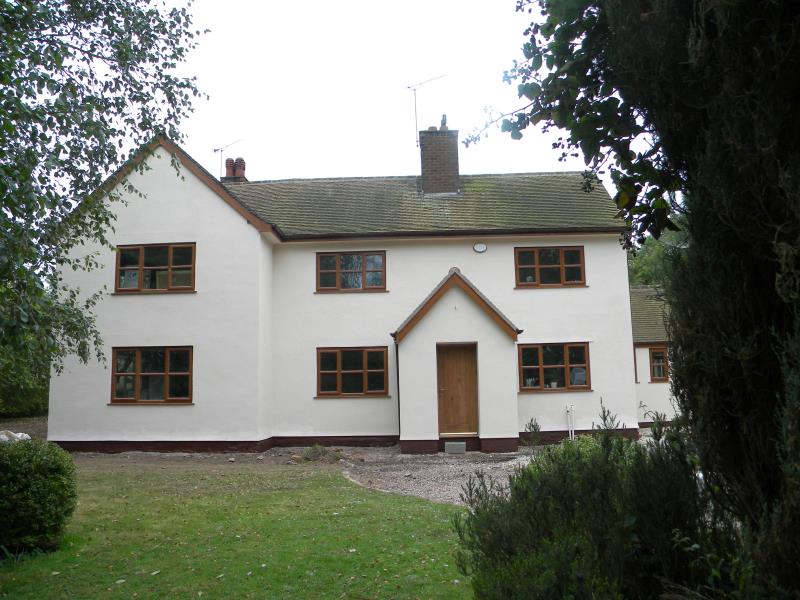
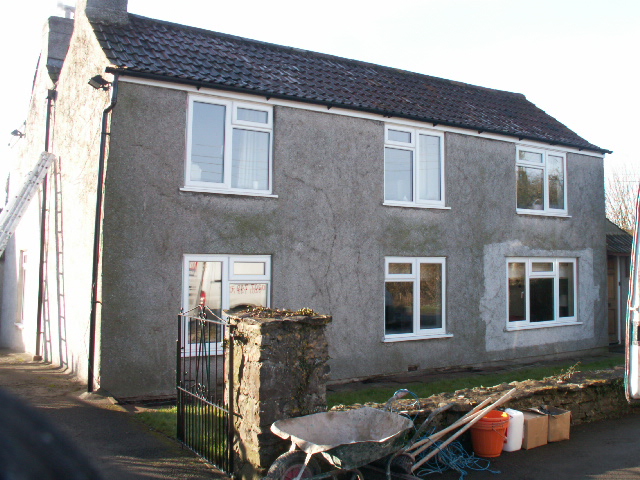
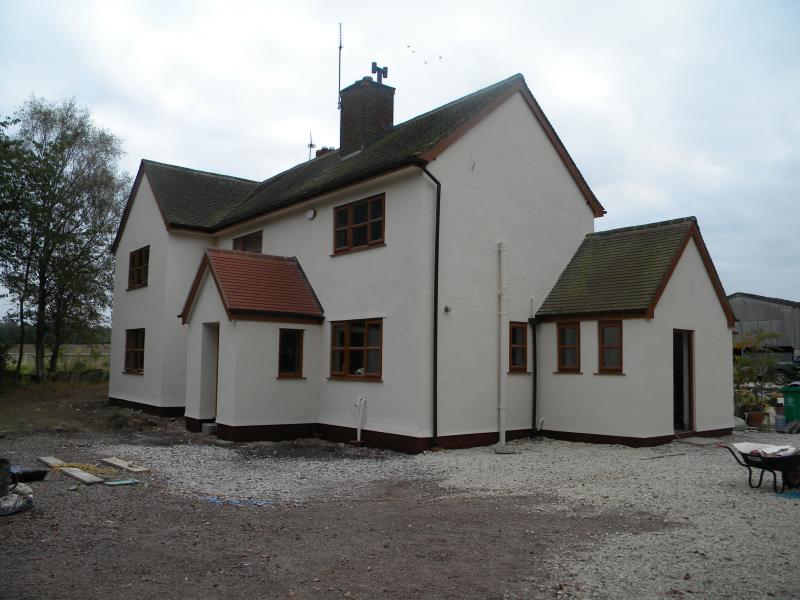
This very nice farm house in Yorkshire was being completely renovated inside and out after standing empty for a few years, Although
looking relatively modern parts of the house goes back 200 years. The external render had been repaired over the years and had
resulted in many scars on the surfaces....our client wanted these gone !! and a uniform slightly textured finish.
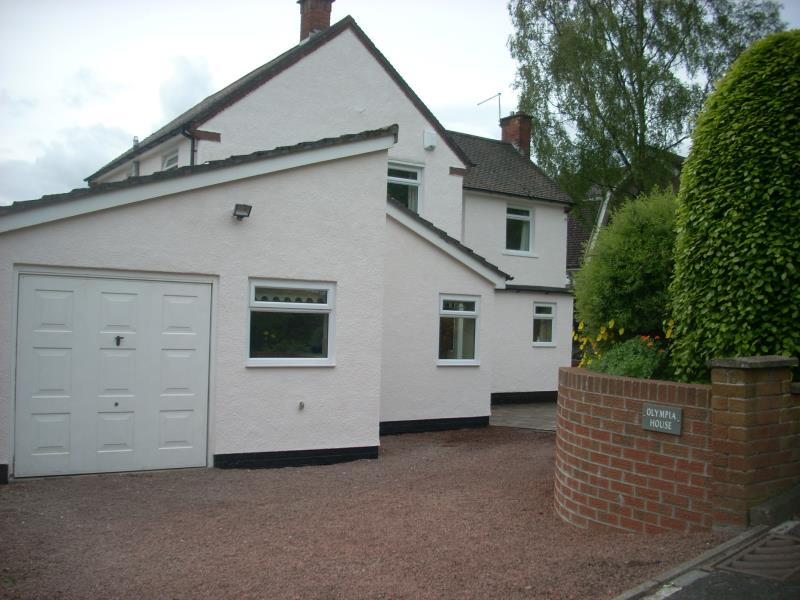
The client was very pleased with the final finish and can look forward to many years of trouble free maintenance and weatherproofing.
* Remove all blown rendering
* Cut out and remove 2 wooden lintels
* Install 2 pre-stressed concrete lintels
to door and window openings
* Extensive brick stitching to several major cracks
* Replace very badly eroded bricks in several areas
* Needle-gun all surface areas.
* Apply a Biocide to all areas of walls ( include garage )
* Power-wash to all areas.
* Mask all areas not to be sprayed .
* A primer base coat sprayed to prepared areas
* Trowel fill all areas to loose scarring / blemishes
* Final top coat sprayed in white using a fine textured GUNEX